Search This Blog

Categories

Wednesday, May 29, 2013

Turn your curling iron into a wand!

So I found this tutorial here for how to turn your regular curling iron into a wand curling iron. In case you don't know what that is, it's when you basically have a normal curling iron just without the clamp part. You take your hair and wrap it around the curling iron instead of twisting the curling iron. It doesn't sound like it would make that big of a difference, but I'm here to tell you it does!

Here is the tutorial to turn your regular curling iron into a wand:

It's super easy.

Here is a picture of my hair when I used to curl it using my original curling iron. It was taken only a couple hours after I was done curling it.

It's not so great, huh?

Well, this is what my hair looked like this past weekend 12 hours after I curled it with my 'wand'.

It looks so much better, right? I hope this was helpful to you! If you have any questions, leave them in the comments below!

Tuesday, May 28, 2013

Striped Wall

I have another paint project for you guys! We painted our bedroom this time. We decided to go for stripes.

You should first paint your 'background color'. We used the color of our other 3 walls as the top, middle, and bottom stripes, making it our 'background color'. Then, we measured our wall, and drew out the lines. We then taped everything off.


We painted one color, waited for it to dry, taped off the other stripe, and then painted our third color.


Show me your paint projects in the comments! I need new ideas for the rest of my new home.

Friday, May 24, 2013

Mother's Day Gift Basket

Alright everyone, I know that Mother's Day is long over, but this can be used for any holiday or birthday. I have one of those mothers that has everything. She wants for nothing and is incredibly hard to buy for! So what did I do? I made a relaxing gift basket. I decided to just go to Target, find a basket, and go from there. This is what I came up with:


Basket $7
Food Network Magazine $4
Wine $7
Candle $5
Candy $4
Magnetic Note Pad $1
Total $28

I made this basket personalized to my mom. She loves finding new recipes. She loves drinking wine (I did have to call my sister to find out what kind she likes though). She loves sugar free candy. What are some things that you would put in your gift basket?

Tuesday, May 21, 2013

Argyle Bathroom

Alright guys! I'm super excited to finally show you something that we've done in our home. Today, we're going to start with the basement bathroom. We painted it when we painted the rest of the basement. Here's what the wall looked like before:


Before we bought our house, I found this on pinterest (of course). I NEEDED to put something similar in my house. At first, I didn't know where, but I eventually found a spot. The basement. Some people may think "really? the basement?" but you have to understand our basement. It is basically a HUGE living room with a half bath. This is the place that we're going to spend most of our time.

Ok, so the first thing I did was make a plan. You'll have to take measurements of your room and plan accordingly. My plan looked like this:


We painted the bathroom the same color as the rest of the basement. Then, we added the diamonds of the argyle. I would say the worst part of this whole thing is the taping. All of your measurements need to be exact! Here, I taped off the lines.


Once I painted those lines and took off the tape, we finally had our finished project! I love it!


Share your painting projects in the comments below! I want to see what you've done. I love seeing other people's ideas. Thanks for stopping by and stay tuned for more projects!

Tuesday, April 30, 2013

Chicken and Mozzarella Roll-Up

Today, I will show you a really easy dinner you can make.

All you will need is:
boneless skinless chicken breasts
salt
pepper
any other spices you want (we used Garlic Garlic, Onion Onion, and Dill)
string cheese

Directions:
1. Preheat your oven to 350 degrees.
2. Pound out your chicken until it's about half an inch thick.
3. Sprinkle your spices onto the chicken. We used salt, pepper, Garlic Garlic, Onion Onion, and dill.
4. Place your piece of string cheese at one end of the chicken and roll it up. You can use a toothpick to keep it in place if it won't stay by itself.
5. Place on a baking pan that's been sprayed with non-stick spray. Bake for about 20 minutes. Enjoy!

Tuesday, April 9, 2013

S'Mores Housewarming Gift

If you've been following my blog, you know that my husband and I are buying a house. We actually close on Friday! Ah! We're so excited. Anyway, I was on pinterest (of course) and I saw some housewarming baskets. What? Awesome! I mean, I've heard of housewarming gifts. I've heard of gift baskets. I don't live under a rock. But I was thinking about how nice they sound. It's a good way to show your friends that you care. And you DON'T have to spend a fortune to make one!

It seems like everyone we know is buying a house right now! My sister just bought one last fall, 2 of our friends that are getting married this summer built a house this past winter, and 2 of our other friends literally just moved into their new home a week and a half ago. I thought it would be nice to bring them something just to show that we care. Since we're currently packing, we don't have a ton of time to make something extravagant. We also don't have a ton of extra money. Here's what I came up with and it cost me less than $10! (Sorry about the bad quality pictures. I made this pretty quick and brought it right over to our friends.)


I wrote a little poem for them. If you're not into poems or you think they're too cheesy (cause let's be honest, they kind of are), just put some kind of tag on it that says "Welcome to your new home!"

I bought this lantern from Hobby Lobby. It's originally listed for $9.99, but there's almost ALWAYS a coupon online for 40% off one regular priced item, making it only about $6! They come in almost any color, too. The little 'can' that you see at the bottom is like a Sterno can. You open it up, light it on fire, and use it to roast your marshmallows. I got this one from Dollar Tree. I put enough stuff in there to make 8 s'mores (4 skewers, 8 marshmallows, 16 graham crackers, and 2 chocolate bars). I originally put the marshmallows and graham crackers in Ziplock bags, but then I remembered that I had some leftover treat bags (which you can also get at Dollar Tree). It looks much classier with these bags.

This is what you get! Our friends loved their gift!

Here's a rundown of the costs:
Lantern $6
'can of fire' $1
chocolate bars $1 (I actually got a package of 6 that cost $3)
Marshmallows FREE (I already had some)
Graham Crackers FREE (I already had some)
Treat Bags FREE (I already had some)
Skewers FREE (I already had some)
Total Cost $8

Even if you have to go out and buy everything, it should cost you less than $15. That's still a pretty good deal in my book.

Leave your ideas for what to put in a Housewarming Gift Basket in the comments below!

Thursday, April 4, 2013

Pirate Party

My son turned 3 on March 24th. Oh they grow up so fast. He's potty trained, he talks more than anyone I know, and he's SO active! I love this little boy. If you would like to see pictures that I've taken of him recently, check out my photography blog here.

Anyway, have any of you heard of Jake and the Neverland Pirates on Disney Junior? Well, my son LOVES it! He has tons of Jake and the Neverland Pirate toys and he loves watching the TV show and he even runs around yelling "Ahoy Mateys!" I decided to do a mix of generic pirate things and actual Jake and the Neverland Pirate things.

Since I'm a stay-at-home mom, my son doesn't really have any friends his own age so this party was mostly for family and family friends. My son was actually the only child there. However, I still tried to make this a kid friendly party. Since there were no kids besides my son, we didn't play any games, but it was still a great party!

DECOR

We cut a whole bunch of black lines to look like the dotted lines on a map that lead to the treasure. We started at the door where you enter and put the giant red X (made of red poster board) over the food table, which ended up being on the opposite wall.

We decided to get our son a pop up Bucky so we just set it up and used it as a decoration. He was so surprised when he walked in and saw it.

You can find these Jolly Roger flags on Amazon for pretty cheap. And this flag was HUGE! It was a great use of wall space.

FOOD

This is the cake! You may recognize it from the post I did a couple days ago. It's super easy and really cute!

You can see some of the food that we had, but it wasn't all out yet when I took this picture. We had cheese, crackers, meatballs, fruit salad in a pirate ship watermelon, goldfish, Cheetos, veggies and dip, and cookies.

These cookies are pretty easy to make. Just make sure that you go slow and don't try to rush the icing.


ACTIVITIES

There was a dress up area that had eye patches and cardboard pirate hats.

We also had a photo prop. I thought it was pretty funny.

You could also apply your own temporary pirate tattoo.

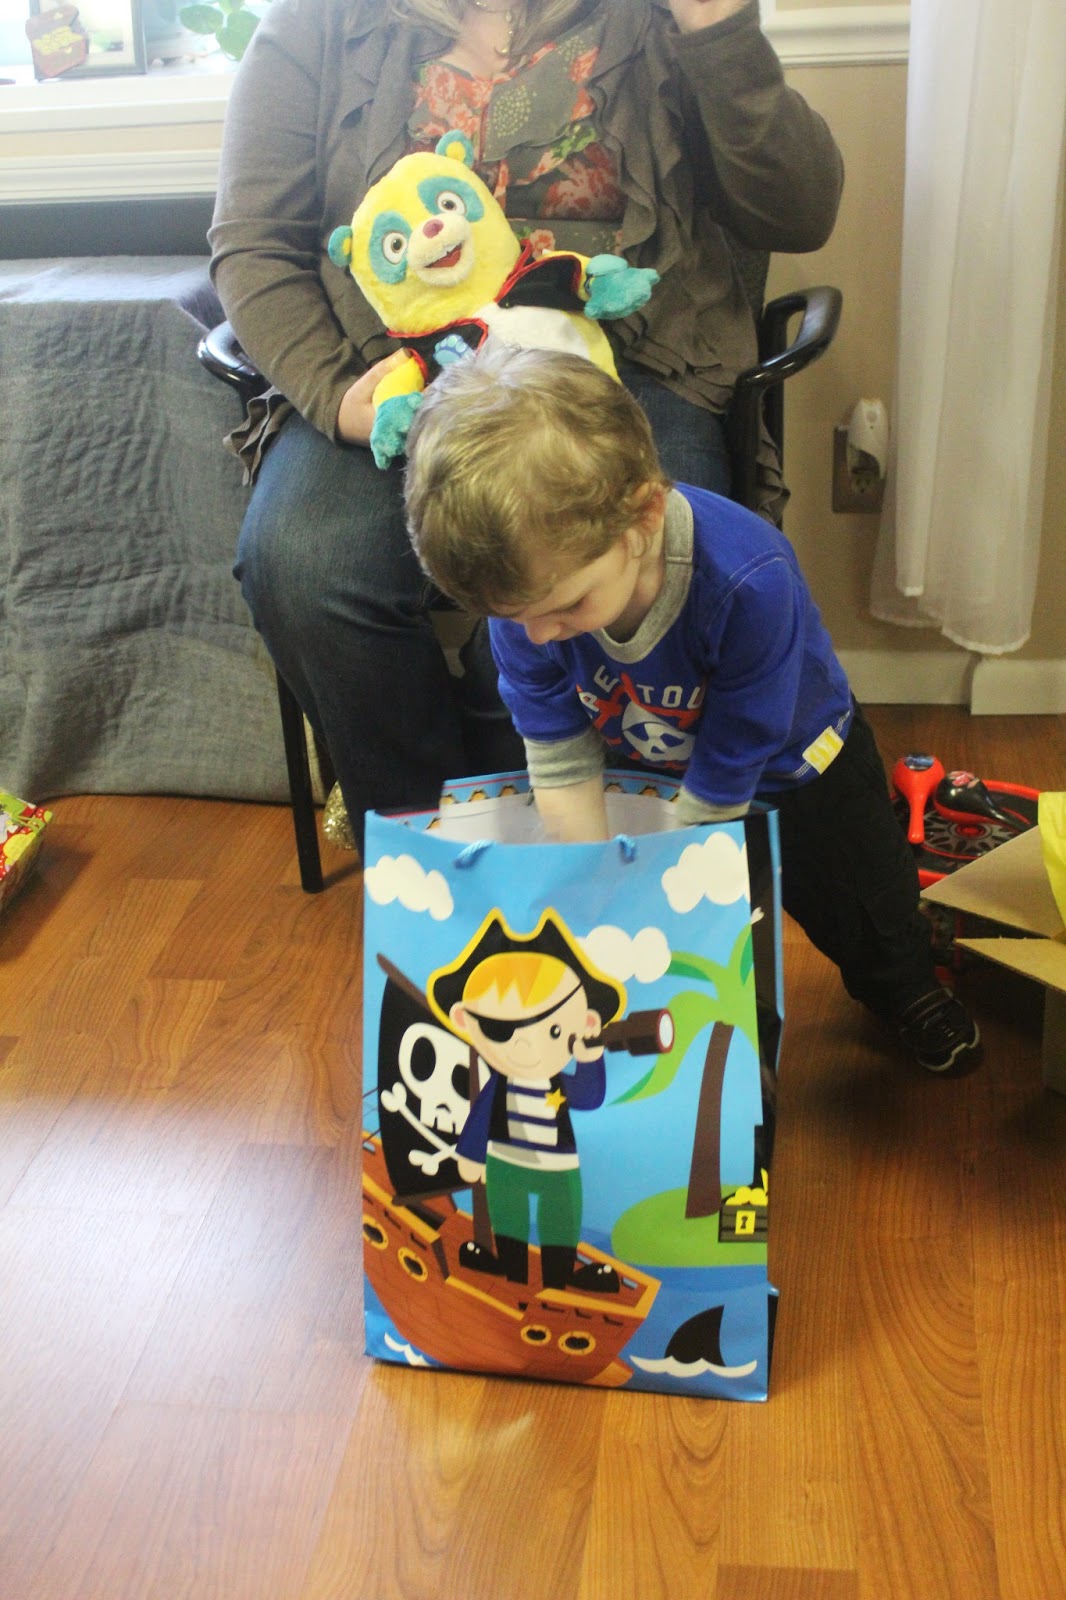
And then, of course, my son opened his presents.

We really enjoyed our party. I hope that you can take some of our ideas and make them your own.

Monday, March 25, 2013

Pirate Party Cake-Pirate Hat

My son just turned 3! What an exciting age, right? Well, we had a pirate party for him. I searched online for cakes to make. After all, I always like making his birthday cakes. For some reason, I just can't justify spending a TON of money on an awesome cake or buying a crappy looking cake that was premade from a grocery store. It's just not my style. Well, I found this cake at Disney Junior. I made cookies from scratch and did a couple of DIY projects for this party. I decided to just buy a boxed cake. I've done this plenty of times before and when making a chocolate cake, I always buy something that has the words triple chocolate or super moist in it. These always taste the best.

Here are the directions that I got from the Disney website:


Here's how my cake turned out:


Thanks for stopping by! Let me know how your cakes turn out!

Tuesday, March 19, 2013

I'm buying a house!

I have lived in my current apartment for 3 years now. It's not in the worst neighborhood by any means. However, no matter where you live, if you're renting an apartment, you WILL have some trashy people living near you. People are so rude sometimes. The family that currently lives across the hall from me has a couple kids. That's fine. Except I have no idea how many children they actually have because it seems like there are at least 5 children going in and out of this apartment like 20 times a day. Keep in mind that this is a 2 bedroom apartment so there's no way all these people actually live there. Anyway, we live on the second floor and the stairs go along the other side of the wall as my apartment so when the boys RUN and STOMP as loud as humanly possible up and down the stairs every single day, I get headaches. They seriously have to try to be that loud. The people that live below us frequently play some racing video game and of course they have to play it INCREDIBLY loud. Again, headache.

Needless to say, I am so ready to be living in a real house! This also means that I'll be posting as many things as possible about redoing our house! I already have so many ideas. Let me share some of my awesome ideas with you! The following pictures are ones that were posted on the internet while we were looking for houses.


This is going to be the guest bedroom. It's pretty small, but we'll make it work. My idea with this room is to decorate it with all of our souvenirs from the many travels we've been on.

This will be my son's room. Clearly we're going to paint it a different color. Purple doesn't exactly scream BOY! (which is totally weird because apparently two boys slept in this room.)

It has pretty good curb appeal, huh? We did have a small issue with the roof that was discovered during the inspection, but they fixed it so now it's all good! Always take your inspection seriously!

This is the basement. It is a seriously huge room. I don't know what we're going to do with this space yet, but my husband has some ideas. He wants to add a bar. We'll definitely put our dartboard here, but other than that, it'll probably have some comfortable seating and a big TV.

My husband wants to finish off this area in the basement. Right now it's just stacked cement block walls and a cement slab floor. It could potentially be my office and photography studio. Then, when we sell, it can be considered a bedroom.

Right now, this half bath in the basement is super plain. I want to add some kind of cool painting technique and add some shelves for storage.

This is the living room upstairs. It's not huge, but if it's more than just our little family, we'll go to the basement so I want to make this area very comfortable. I just imagine us spending nights watching some TV or something.

The deck area is very nice. It's right off of the kitchen/dine-in area and it looks over the entire back/side yard. It even has a gate already so that our son can't go down the stairs. He actually just had his 3rd birthday party this past weekend. My parents bought him a picnic table. I hope it fits nicely on our deck.

This is the play equipment that they're leaving behind. My son is super excited to play on it!

This is the eat-in kitchen area. My husband and I were thinking about putting a built-in bench underneath the window on the left. This can also double as a storage area. The bench can flip up and we can keep things for the deck and games in there. Then we'll have a table and chairs to go with it.

There isn't a whole lot that we NEED to do to the kitchen, but there are a few things that we WANT to do. My husband wants to replace all the appliances. If we do, we'll probably get black ones. The kitchen is a little white for my taste. Also, we need to replace the hardware on the cabinets. I'll have to post a close-up picture of them later. They look like vines with leaves at the end. That's just not my taste.

I actually kind of like the bathroom for now. Our current shower curtain is brown with green circles on it so the color scheme is working for me. I'm sure that I'll eventually change everything.

and this will be my bedroom. Clearly we won't have our bed like that. That's just weird. Also, we need to paint. Seriously. This bedroom has the most boring color on the wall. It could definitely use a change.

Hopefully, I can show you all the amazing changes that we'll do to this house! I can't wait until it really feels like home. We close on April 12th. That is a mere 24 days away!